
What supplies do you need for watercolor painting?
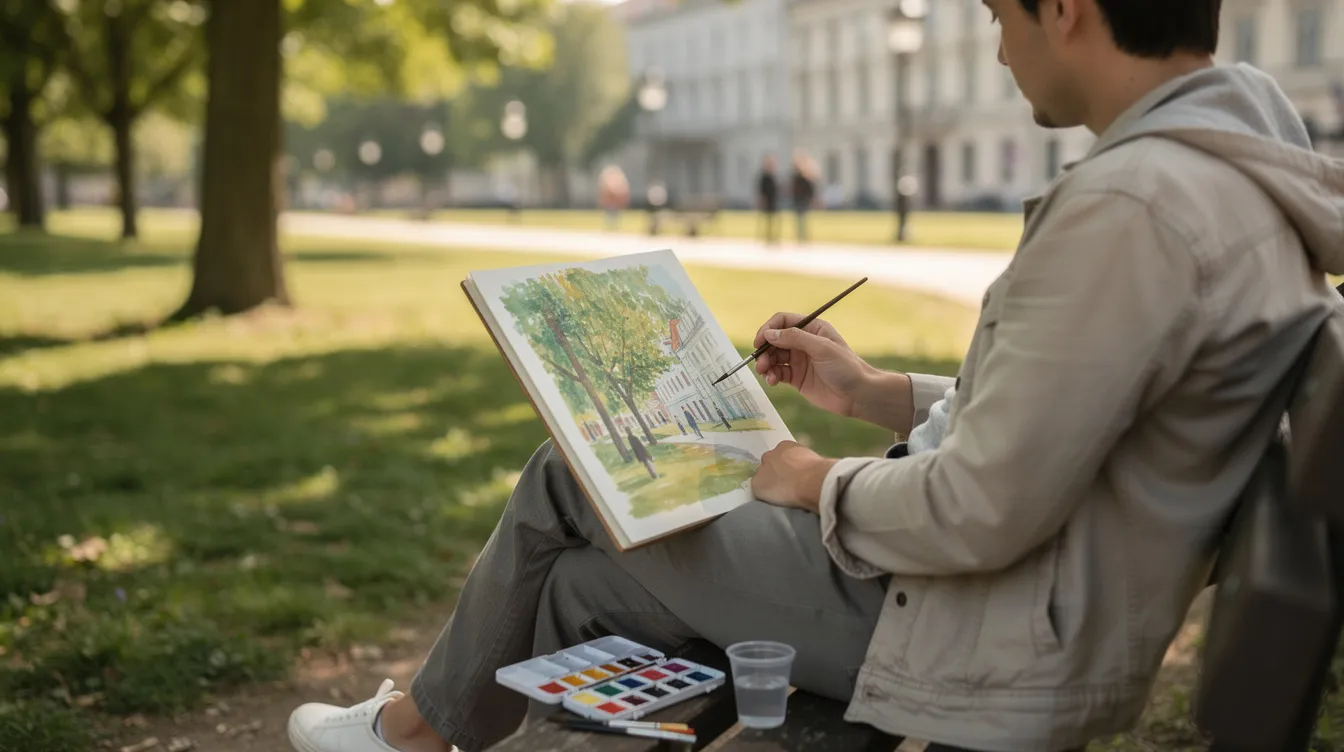
I am a school caretaker in Cork, Ireland, and I sketch on whatever bench I can find during my thirty-five minute lunch break. Four years of doing this with a small kit in my jacket pocket has taught me what watercolor painting supplies actually matter and what just takes up space. This is everything I wish someone had told me before I started buying watercolor supplies. If sketching is new to you, start with what sketching in art means.
Quick-start: the minimum watercolor kit I actually carry
If you want to skip the theory and just know what to buy, here is the short version. This is what lives in my sketching pouch most days:
-
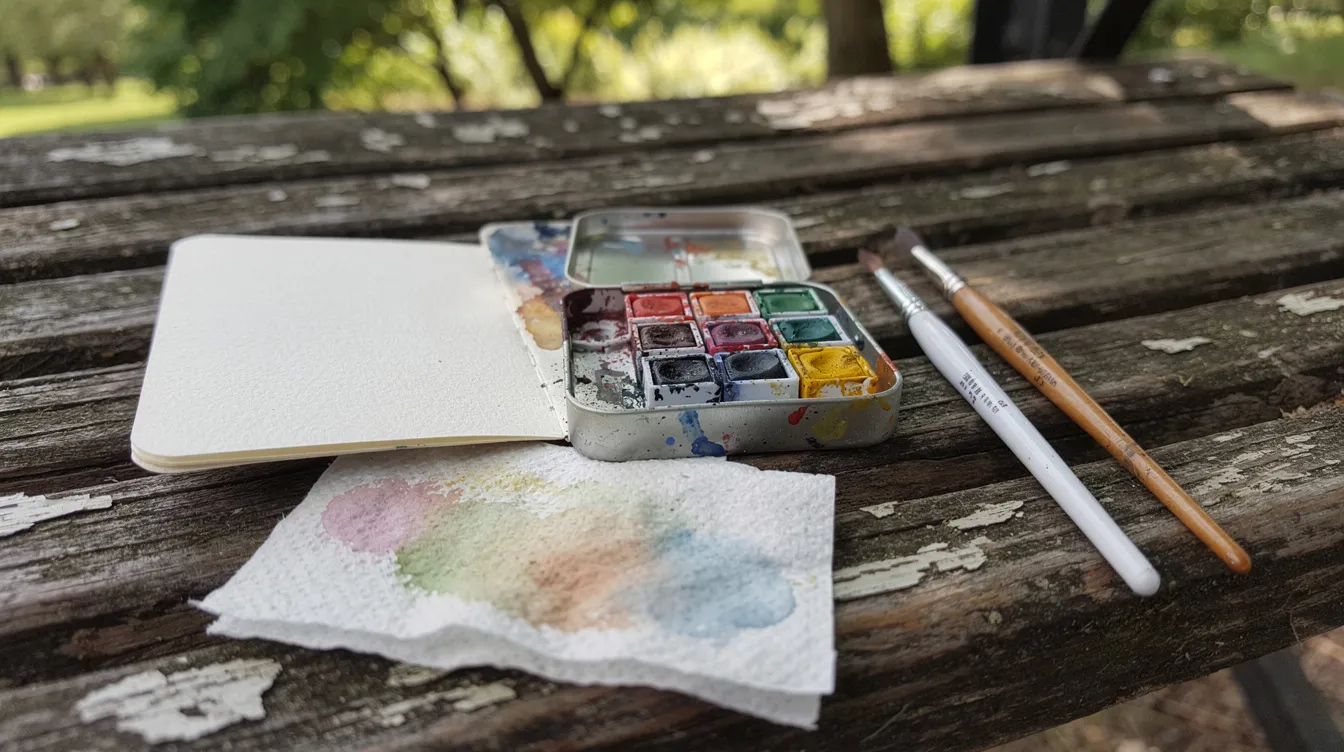
A compact pan tin with 8 to 12 paint colors
-
Two round brushes (one medium, one small)
-
A pocket watercolor sketchbook, about A5, with decent paper
-
Two small water containers (or a water brush and one container)
-
A paper towel or a scrap of old T-shirt
-
A tiny spray bottle
-
A stub of masking tape wrapped around a pen
That is enough to paint streets, buildings and people from a park bench or bus stop. Essential supplies for watercolor painting really come down to five things: a small set of paints, a brush, paper that handles water, a water container and something to blot with. Everything else is a nice extra, and I have wasted money learning that. If you are buying your first kit, pick one affordable starter kit and get sketching today. The later sections explain each supply in more detail so you can make better choices as you go.
Why watercolor supplies matter more than you think
Watercolor painting relies heavily on the quality of materials used. I did not believe that at first. For my first few months I used bargain paints on regular paper, and every wash looked dull and lifeless. The paper buckled the moment water hit it, pigment pooled in the wrinkles, and fine lines tore through the surface. I thought I was bad at watercolor. The paper was the problem. For the basics behind the medium, the overview of watercolor painting is a useful starting point.
Poor paper causes pilling, which is when the fibres pull up under a wet brush. It causes buckling, which warps your drawing and sends wet paint sliding into corners. And it gives dull, lifeless washes even if the drawing underneath is good. Very cheap paints fight you too: weak pigment, chalky textures, colors that won’t rewet once they dry in the pan, and plastic wells that bead up water instead of mixing it.
You do not need luxury gear. But a few well-chosen supplies make learning faster and less frustrating. If I could improve only one thing in a beginner’s kit, it would be the paper. Upgrading from a generic sketchbook pad to good quality paper changed my results overnight. The rest of this article focuses on compact, everyday supplies for urban sketching rather than a full studio setup.
Watercolor paint: choosing colors for a small urban palette
Watercolor paint comes in two broad grades. Artist grade paints have more pigment and less filler, which means stronger color, better lightfastness and cleaner mixes. Artist-grade paints have more pigment than student-grade paints in every comparison I have seen. Student grade paints often look chalky and don’t rewet well, but they are perfectly good for learning. My first basic student tin lasted over a year, and I would upgrade only the colors I used up fastest.
The paint itself is pigment held together by gum arabic, a traditional binder that dissolves again when you add water. That is what makes watercolor so portable: dry paint in a pan comes back to life with a wet brush.
Watercolor paints come in pan sets or tubes. Pan paints are compact and easy for travel and outdoor painting, and I use them because they don’t leak. I like filling my own half pans from tubes, which lets me choose my favorite colors and save a little money. A 12 ml tube lasts for over 50 small paintings, so tubes are economical if you are refilling pans at home. Tubes suit big puddles of color for large paintings, but they are more fuss for a bench sketcher. There are also liquid watercolors, which are premixed fluid paints sold in small bottles, though I have not found them practical for outdoor sketching.
The best watercolor for most beginners is the one they will actually use often, not the most expensive brand on the shelf. Daniel Smith is a high-quality brand I enjoy for a couple of key colors, and Winsor Newton is widely available and reliable. But any artist-grade line from the many brands on the market is fine. You do not have to pick one brand and stick with it.
How many colors do you really need in your palette?
Fewer than you think. A basic watercolor palette includes warm and cool primaries: that means a warm and a cool version of each of the three primary colors, giving you six pans. Add one earth tone like burnt sienna and a convenience dark like Payne’s grey, and you have eight colors that mix almost anything you need for a street scene.
A six-color commuter kit keeps things very light and teaches you mixing colors quickly. A 12-color pocket palette adds a few convenience greens, an extra earth and perhaps a brighter violet, which saves time when you are painting fast. Both work. Cork is grey, damp and green, so I lean on blues, earth tones and a muted green. Your surroundings will tell you yours.
The fear of “too few colors” usually fades the first time you mix a cool blue and a warm yellow into a convincing tree green. Buildings, skies and shadows come from mixing cool primaries with earth tones. I find fewer colors teach you more about mixing than a 36-color set you never touch. Start smaller, and add one new color at a time when you notice a repeated mixing problem.
Brushes: what types, and how many brushes do you need?
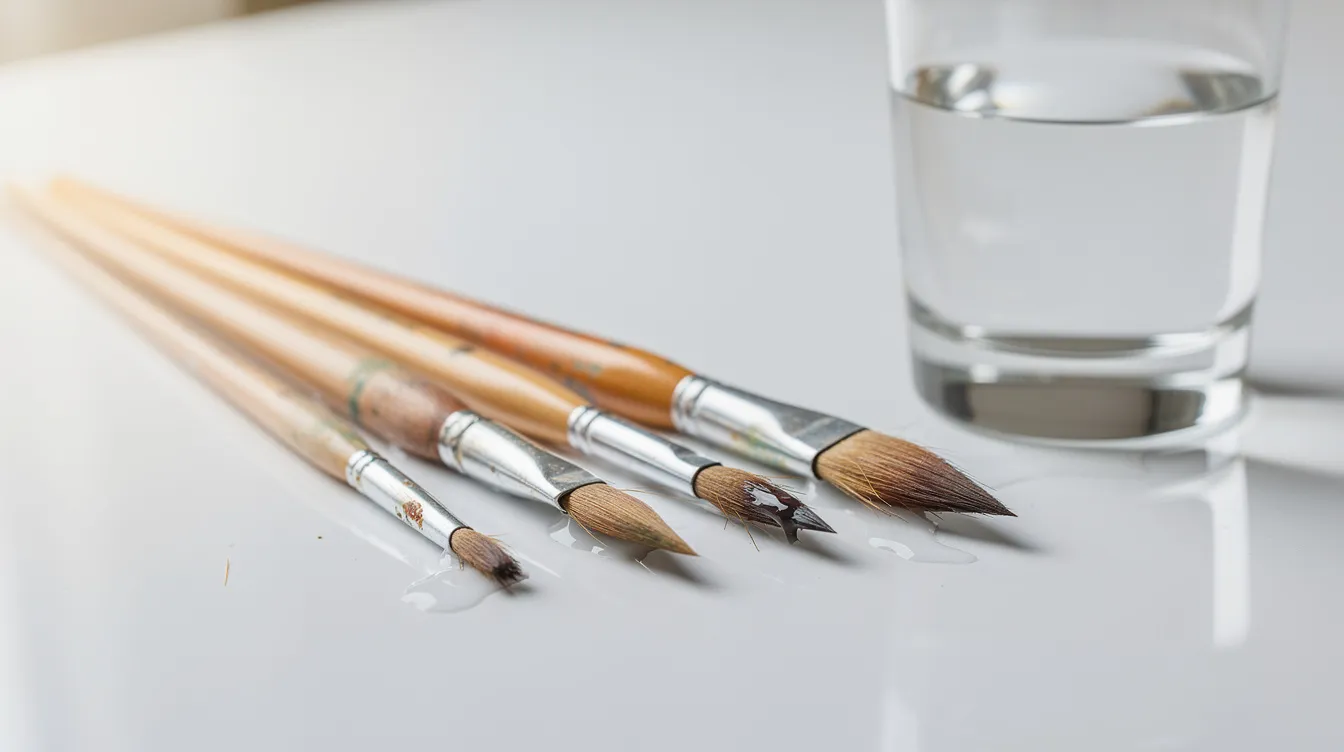
I painted for a year with just two watercolor brushes and could still capture most of Cork’s streets. How many brushes do you actually need? Two or three good round brushes is the ideal starting point. If I had to keep only one it would be a round size 6 or 8, which makes broad washes with its belly and fine lines with its tip. Round brushes are versatile and commonly used for watercolor painting, and they handle almost every task a sketcher faces.
A basic watercolor kit includes three brushes: sizes 4, 8 and 12. Some guides recommend a size 6 and size 16 round brush as essential. Three brushes are sufficient for most watercolor techniques. Here is how I think about the roles:
-
Medium round (size 6 or 8): your workhorse for most washes, lines and shapes
-
Small round (size 2 or 4): small details like windows, figures, lettering
-
Larger round or mop (size 10 to 12): skies, broad washes, backgrounds
A large round brush is recommended for beginners because it forces you to work loosely rather than fussing over small details. Flat brushes are ideal for laying down uniform backgrounds and sharp angles, but I rarely carry one outdoors.
Good watercolor brushes hold water well and snap back into shape. That snap, or spring, is what lets you draw crisp lines. Natural hair brushes hold more water but are more expensive. Kolinsky sable is the classic choice, and squirrel hair holds huge amounts of water for soft washes. But animal hair comes at a cost, both in price and care. Synthetic brushes are affordable and durable for beginners, and modern synthetic fibers have improved so much that they rival natural hair for everyday sketching. Da Vinci makes a good synthetic range available in Europe, and any equivalent local brand is fine. Put money into one decent brush before buying a pack of ten cheap ones, because a good brush comes to a point when wet and a bad one splays.
A water brush is a refillable barrel you squeeze to release water, so you don’t need a jar. It is not as nice to use as a proper brush, but on a twenty-minute lunch break the convenience wins. I carry one in my pocket and a small travel brush in the tin.
Watercolor paper: what to buy instead of regular paper
In the staff room one afternoon I tried painting on regular printer paper. The result was a buckled, torn mess. Printer paper is too thin, not sized for water, and it causes patchy washes. Regular paper buckles and tears when used with watercolors. Even regular paper from a standard sketchbook absorbs unevenly and pills under a wet brush. Bad paper can potentially ruin a painting that took you twenty minutes of careful observation.
Watercolor paper is classified by surface texture, weight and material composition. The weight matters most at first. Watercolor paper should be at least 140 lb or 300 gsm. That weight is thick enough to minimize warping. Paper weight affects resistance to warping when wet, and 140 lb paper is thick enough to minimize warping for most bench-sized sketches. Lighter paper around 200 gsm can work for quick sketches with very little water, but it will ripple.
The best watercolor paper is 100 percent cotton. Cotton watercolor paper is more forgiving and easier to blend than cellulose alternatives. It sits flat, lifts color cleanly when you want to correct a mistake, and keeps washes luminous. Watercolor paper should also be pH neutral and acid free so it does not yellow over time. Arches paper is a well-known cotton brand, and there are others like Fabriano Artistico and Saunders Waterford.
My advice: save your 100 percent cotton sheets for finished work or paintings you care about. Use more affordable cellulose pads or a watercolor paper pad for everyday practice. Decent paper does not have to be the most expensive sheet in the shop. Even a mid-range cold press paper in 300 gsm will give you a huge difference over regular paper.
Cold press, hot press and rough: choosing a surface for your style
These terms describe surface texture, not quality level, and each suits different subjects.
Cold press paper has a slight texture, sometimes called tooth, which helps pigment settle into the grain and gives washes a lively, natural look. Cold-pressed watercolor paper is the most popular choice, and it is my go-to as a bench sketcher. The slight texture works beautifully with loose city trees, skies and stone textures. The grain it gives washes is lovely.
Hot press paper is almost smooth. It suits fine ink lines, detailed pen work and light watercolor glazes for architecture. If you draw buildings with a fountain pen and add only a little color, hot press is worth trying.
Rough paper has heavy texture. It is harder for beginners but lovely for bold, expressive foliage and street scenes. Ink lines can skip over the valleys in rough paper, so it is less forgiving for mixed media work combining pen and paint.
Palettes and mixing surfaces: from studio trays to pocket tins
Good mixing space matters as much as the paints, especially when you are working on a park bench or a bus seat. If your mixing area is cramped, you end up with muddy color from overmixing in the same tiny well.
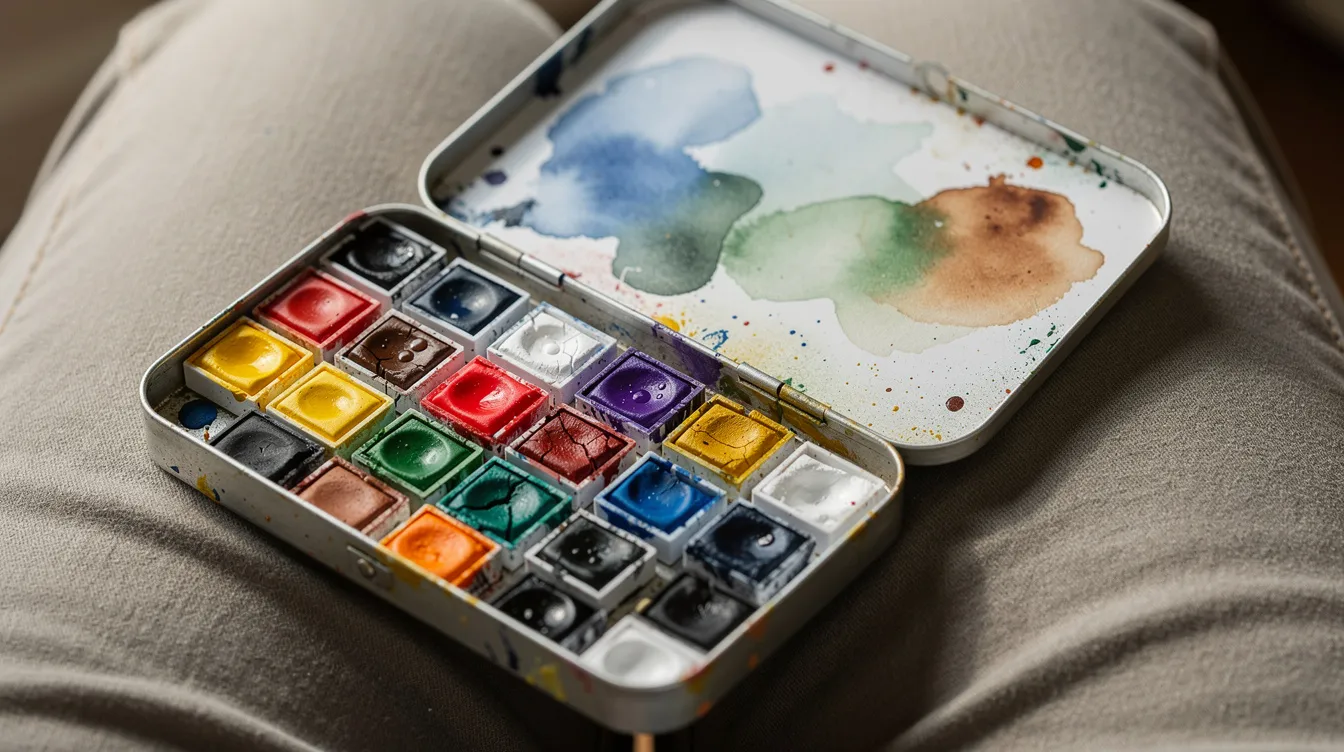
A studio palette has wells for paint and mixing space, usually spread across a large tray. A mixing palette is used solely for mixing paints, separate from where you store your colors. Portable palettes are compact for travel and outdoor painting and combine storage and mixing in one case. A good palette should have a bright white surface so you can judge paint colors accurately against the paper. Palettes can be made of porcelain or enamel for easy cleaning, and a ceramic palette is lovely at home but too heavy for a coat pocket.
For outdoor sketching, the lid of a pan tin often doubles as a paint palette. A white saucer or plastic lid is a fine fallback. I built a tiny travel palette from a mint tin and half pans, and it fits in my jacket pocket for lunchtime sketching. The watercolor palette you carry does not need to be fancy. It just needs to be white, flat enough to mix on, and small enough that you will actually bring it.
Water, cloth, paper towels and spray bottles: controlling moisture
Watercolor is really the art of managing water. How clean your rinse water is, how you blot your brush, how damp the paper is before a wash: these decisions shape every stroke.
Water containers are necessary for rinsing brushes and mixing paints. I use a simple system of two jars at home, one for rinsing brushes and one for clean water. Rinsing brushes in dirty water contaminates your colors, so keeping two jars makes a noticeable difference. Out and about, a water brush or a small bottle does the job. Old jam jars work perfectly as water jars at home.
A paper towel or folded kitchen roll is the most useful thing in my kit after the brush. I use it for blotting brushes, lifting wet paint, fixing mistakes and saving over-wet washes. I often carry a scrap of old cotton T-shirt, or a folded square of kitchen roll in a freezer bag.
A small spray bottle is a useful extra. Spray bottles can be used for keeping paint moist before starting to paint, misting the palette so dry paint softens, or dampening paper for soft skies. A tiny 30 ml mist bottle is plenty and weighs nothing.
Masking tape, masking fluid and simple tools to protect the white
Watercolor relies on the white of the paper for highlights, reflections and light. It helps to have tools that keep small areas clean.
I wrap artist tape or masking tape around a pen or water bottle so I always have some. I use it for taping pages flat, holding loose sheets to a board and creating clean edges on a finished painting. Masking tape is one of those supplies that costs almost nothing and solves half a dozen problems.
Masking fluid is a more advanced supply for saving tiny highlights like window reflections, railings or wet cobblestones. Honestly, it is one I skip at the start, and it will not make first paintings better. Time with a brush will. If you do use it, apply it with an old brush or a ruling pen, let it dry fully, and peel it gently once the wash is bone dry. Pebeo masking fluid is a popular brand, but any odor-light, removable fluid works.
Pencils, light sketching and using a light box at home
I usually start with a light pencil drawing before painting, especially for buildings and perspective. An HB or 2B pencil works well on watercolor paper without scratching the surface, and a kneaded eraser lifts graphite gently without scuffing the sizing.
Since I started painting with a fountain pen, my usual method is ink lines first, then loose color over the top. Many fountain pen inks are not waterproof and bleed the moment a wet brush touches them. Test your ink on a scrap of the same watercolor paper and let it dry fully before brushing water over it. For more on that, see my guide to choosing ink for fountain pens.
At home, a slim LED light box can help transfer a street sketch from a rough notebook onto better paper. Place the rough drawing on the light box, lay good paper on top, and trace. It is optional and more of a convenience for a finished painting than something you need in a street sketching kit.
Watercolor sketchbooks and blocks for portable painting
I prefer a small bound watercolor sketchbook for urban sketching because everything stays together and I do not have to carry a board. A hardbound A5 book with 300 gsm paper fits in most bags and invites quick, low-pressure sketches.
Loose sheets are cheaper per painting at home and let you throw away failures without feeling you have ruined a book. But they need taping or clipping to something firm, which adds weight. A watercolor paper pad is glued on one side and good for home practice. Watercolor blocks are glued on all four sides so the paper stays flat and can dry flat without stretching or tape, which is lovely for studio work. Spiral-bound books lay flat on a bench, which is handy when your surface is your knee.
For someone just starting, a small hardbound sketchbook or a cold press block in A5 is a great personal choice. You can always buy loose sheets later for larger or more finished pieces.
Optional but useful extras for a comfortable sketching session
These are not essential but they make painting in public more pleasant:
-
A small folding stool for when benches are wet or taken
-
A clip or elastic band to hold pages in the wind
-
A flat board if using loose sheets
-
A pouch to keep supplies together and protect brushes from damage
-
A small absorbent cloth for sudden Irish drizzle landing on the page mid-sketch
Things I would skip at the start: large brush sets, easels, dozens of colors and expensive paper in big blocks. They have their uses, but build your kit slowly, adding one extra as you discover a real need. Every tool should earn its place in the bag.
Putting it all together: a realistic watercolor starter kit and next steps
Here is a quick recap of the categories: paints, brushes, paper, palette, water setup and a few simple tools like masking tape and pencils.
My pocket bench kit is a small pan tin, one water brush, one travel round brush, a fountain pen with waterproof ink, a pocket watercolor sketchbook and kitchen roll in a freezer bag. It weighs very little, and the real test of any supply list is whether you will actually carry it.
A pocket bench kit (for lunchtime sketching) might cost about the same as a modest night out. A weekend bag kit adds a larger brush, more tube colors, a block of good paper and a proper mixing tray, and costs roughly twice that. Neither needs to break the bank. Prioritize paper and one good brush before expanding your color range.
Good sketches rest on simple observation rather than fancy art supplies. I would rather you spent your first month drawing a bin or a bicycle than shopping. The watercolor artist you admire online started painting with something basic and got better by filling pages.
Do not wait for the perfect setup. Assemble the closest version you can this week and start. Find a quiet corner of your own city, sit down, open the book, and let the supplies earn their place in the bag. Happy painting.
FAQ
What is the cheapest way to start watercolor painting? A small student pan set with six colors, one medium round brush (size 6 or 8), a pad of 300 gsm paper, a jar for water and a paper towel. If you have any extra to spend, put it toward better paper first. That combination is a functional starter kit.
Can I use normal sketchbook paper for watercolor? Only for very light washes with minimal water. Regular sketchbook paper buckles, may pill, and will not hold water the way proper watercolor paper does. Decent paper makes learning easier and your results more encouraging.
Do I need more than one brush? No. One round size 6 or 8 covers most needs. Small brushes for detail and a larger wash brush can come later. Many sketchers work with a single brush for months.
Are pans or tubes better for beginners? Pans are simpler, cleaner and easier to carry. They are my recommendation for anyone buying watercolor supplies for the first time. Tubes suit larger paintings that need lots of mixed color, and they are useful for refilling pans at home.
Can I use a fountain pen with watercolor? Yes, if the ink is waterproof once dry. Not all fountain pen inks are waterproof, and non-waterproof ink will bleed and run the moment a wet brush touches it. Test on a scrap of the same paper first and let the ink dry fully before adding water.